How to run Quake II on Windows 11
So you want to play Quake II, but you don't know where to start in the 21st century. Fear not, as this guide will show you how to obtain and run Quake II on you new Windows 11 machine.
Table of Contents
Intro
Being the 25th anniversary of Quake II this month, I thought it fitting to write an article on how to experience Quake II on a modern PC.
Firstly, some clarification; this guide is best suited to getting Quake II running on modern Windows using a modern engine with minimal deviation from the original experience, i.e. this guide won't show you how to get Quake II up and running with high resolution textures or ray-tracing, and it won't go into detail on how to get up and running with a modern multi-player experience. With that in mind, push on.
Setup
So, where best to obtain Quake II if you have misplaced your old CD? Gog or Steam.
Install Quake II after purchasing through your store of choice.
Next we need to download Yamagi Quake II. Go to the download page for Windows here and download the latest version.
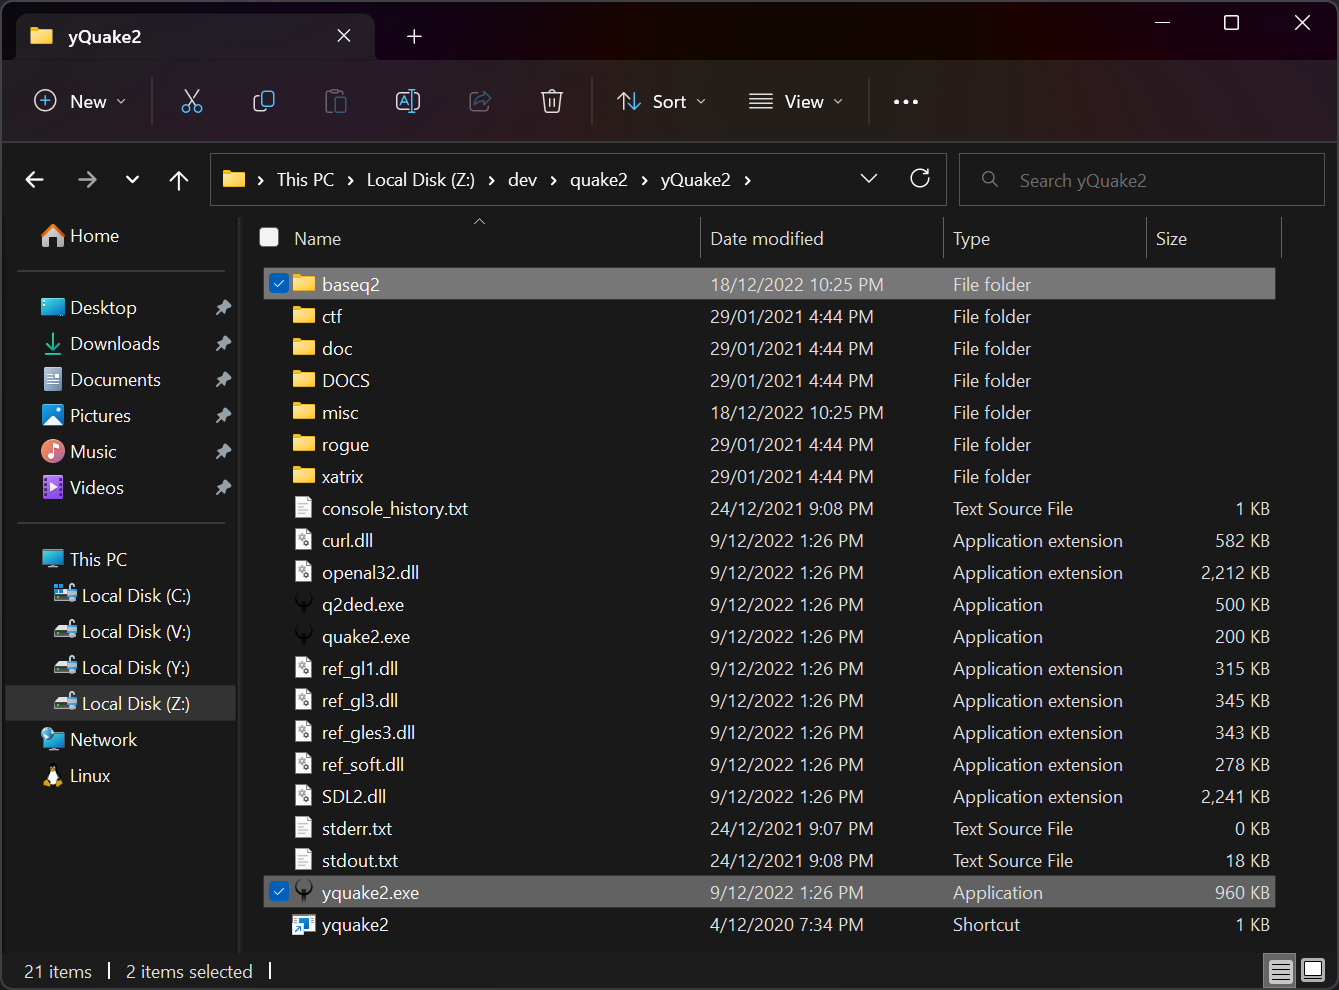
Extract the Yamagi files to a new folder on your PC.
Go to your Quake II GOG or Steam install directory and copy out all the files in the baseq2 directory into the baseq2 directory in your Yamagi installation.
In your Yamagi directory, run yquake2.exe and this will launch Quake II.
Configuration
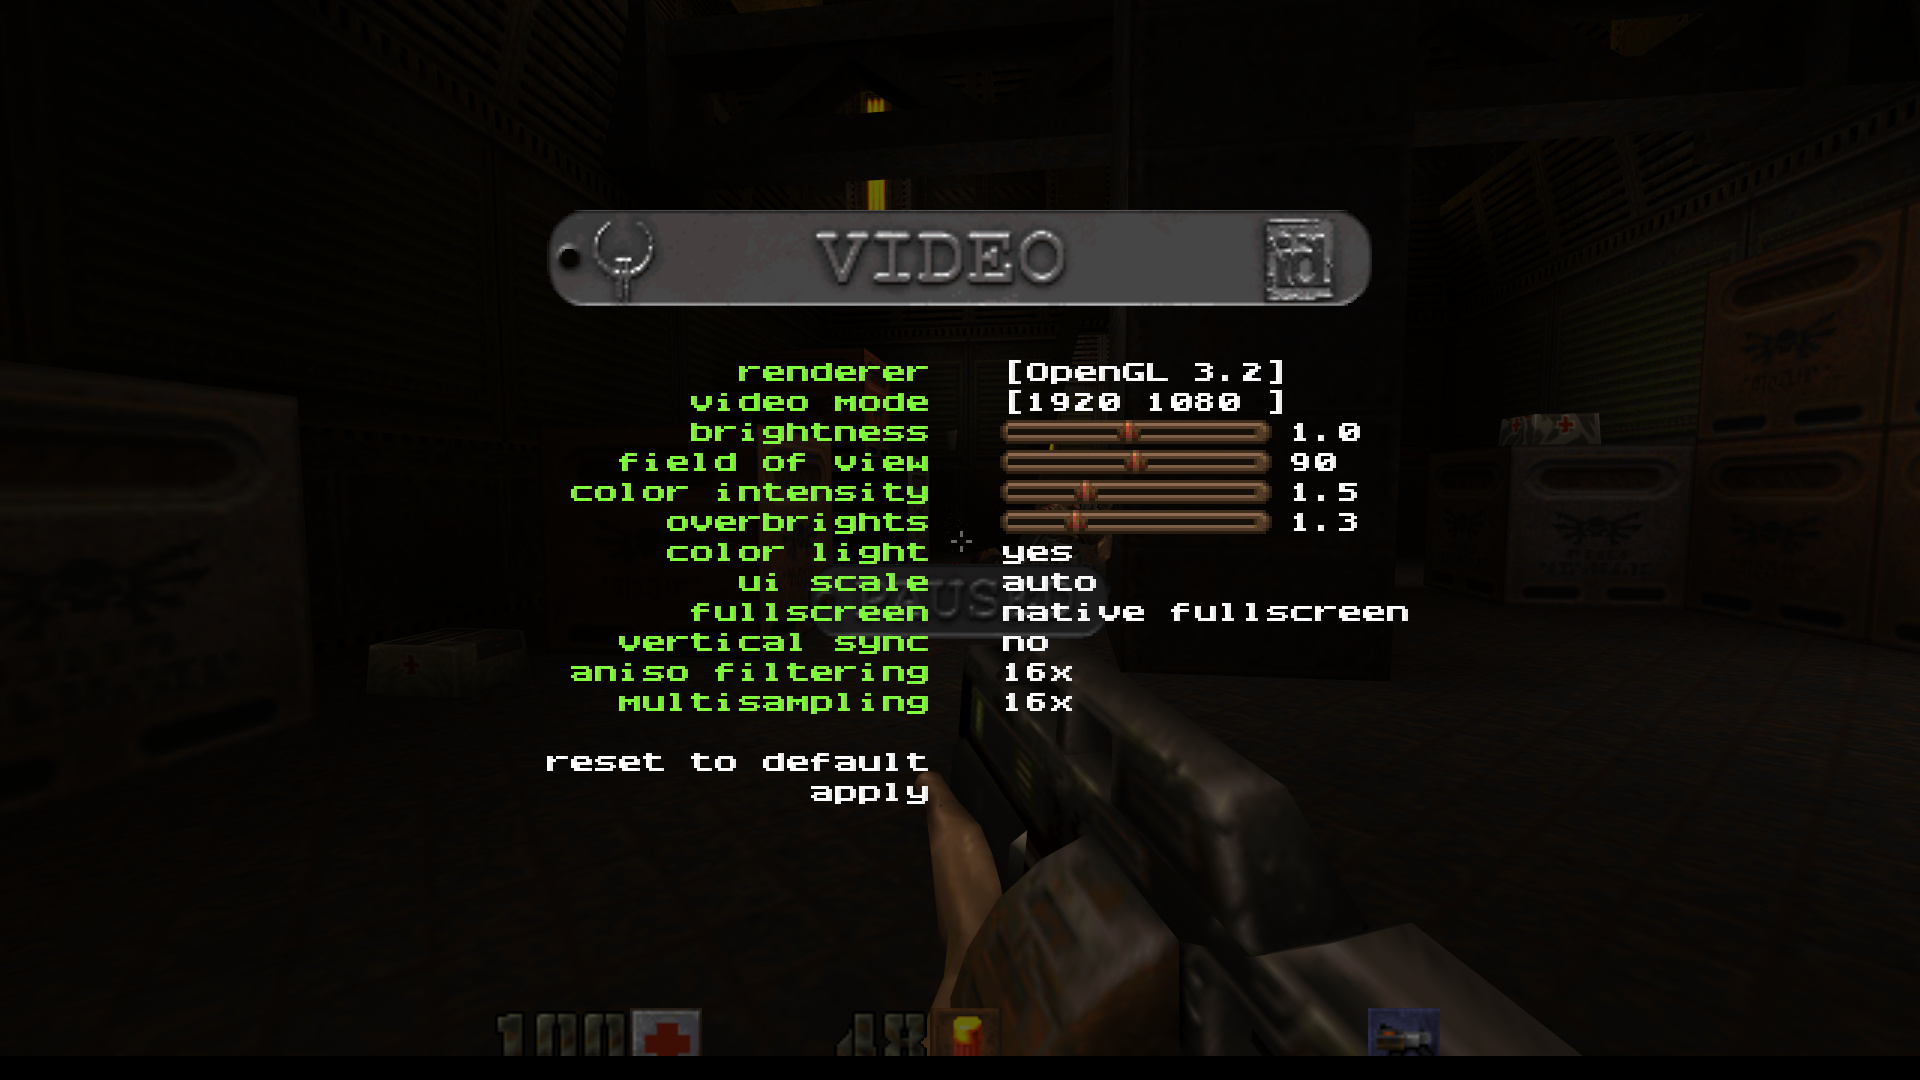
Most configuration settings can be made from within the game. The first thing I do at this point is change the video settings by going into the "Video" menu select.
Adjust the renderer to "OpenGL 3.2" and change the video resolution to suit your monitor. Crank anisotropic filtering and multisampling up to 16x and chose vertical sync if that's your preference.
Below are the settings I chose for my system:
For some more advanced setting, it's time to type in a few commands into the Quake II console. Enter the Quake II console by pressing "`" on your keyboard (the key immediately under "Esc".
Enter the following commands:
set gl_texturemode "gl_nearest_mipmap_linear"
set gl3_particle_square "1"
set cl_showfps "1"
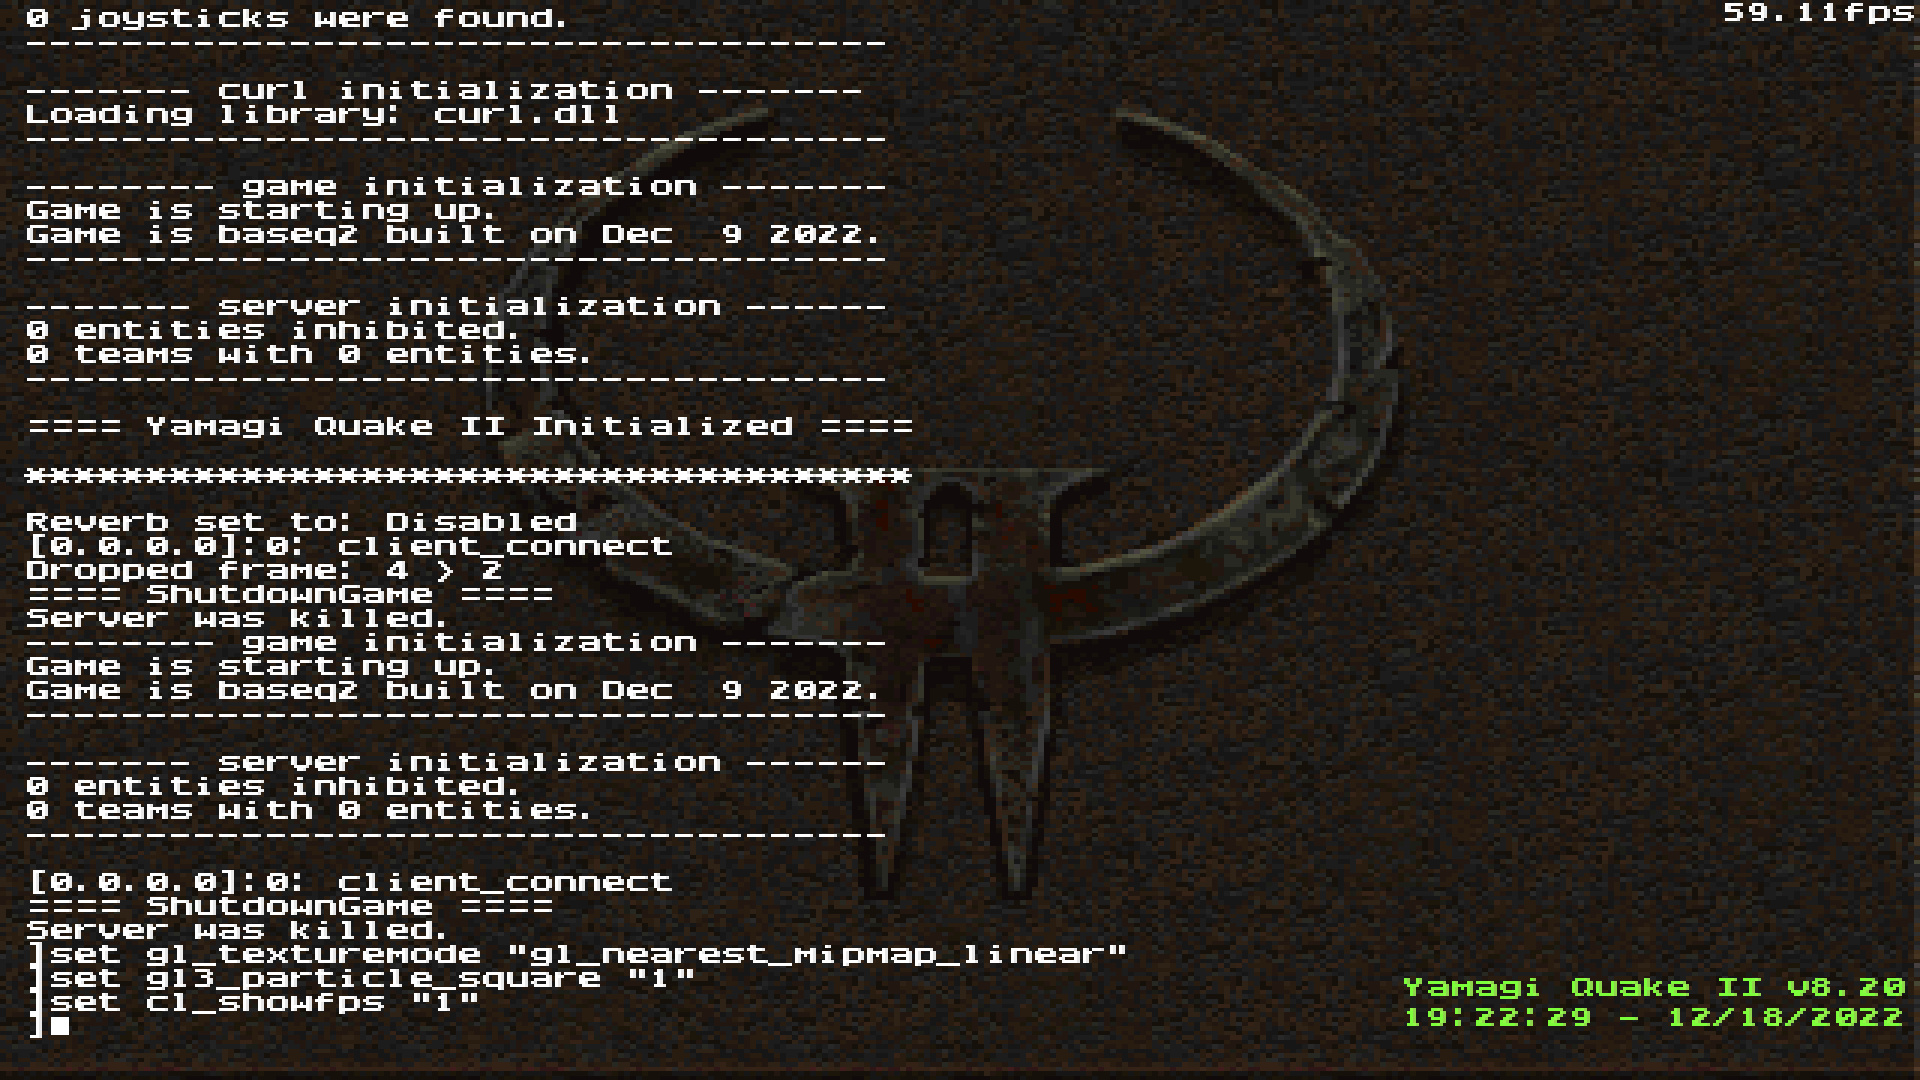
- gl_texturemode makes textures look nice and chonky, not all smoothed and blurry.
- gl_particles_square effectively does the same thing for particles in the game such as bullet trails.
- cl_showfps adds a nice little fps counter to the top right corner of the screen. Chosing "2" or "3" gives additional output, so pick a value that suits you best.
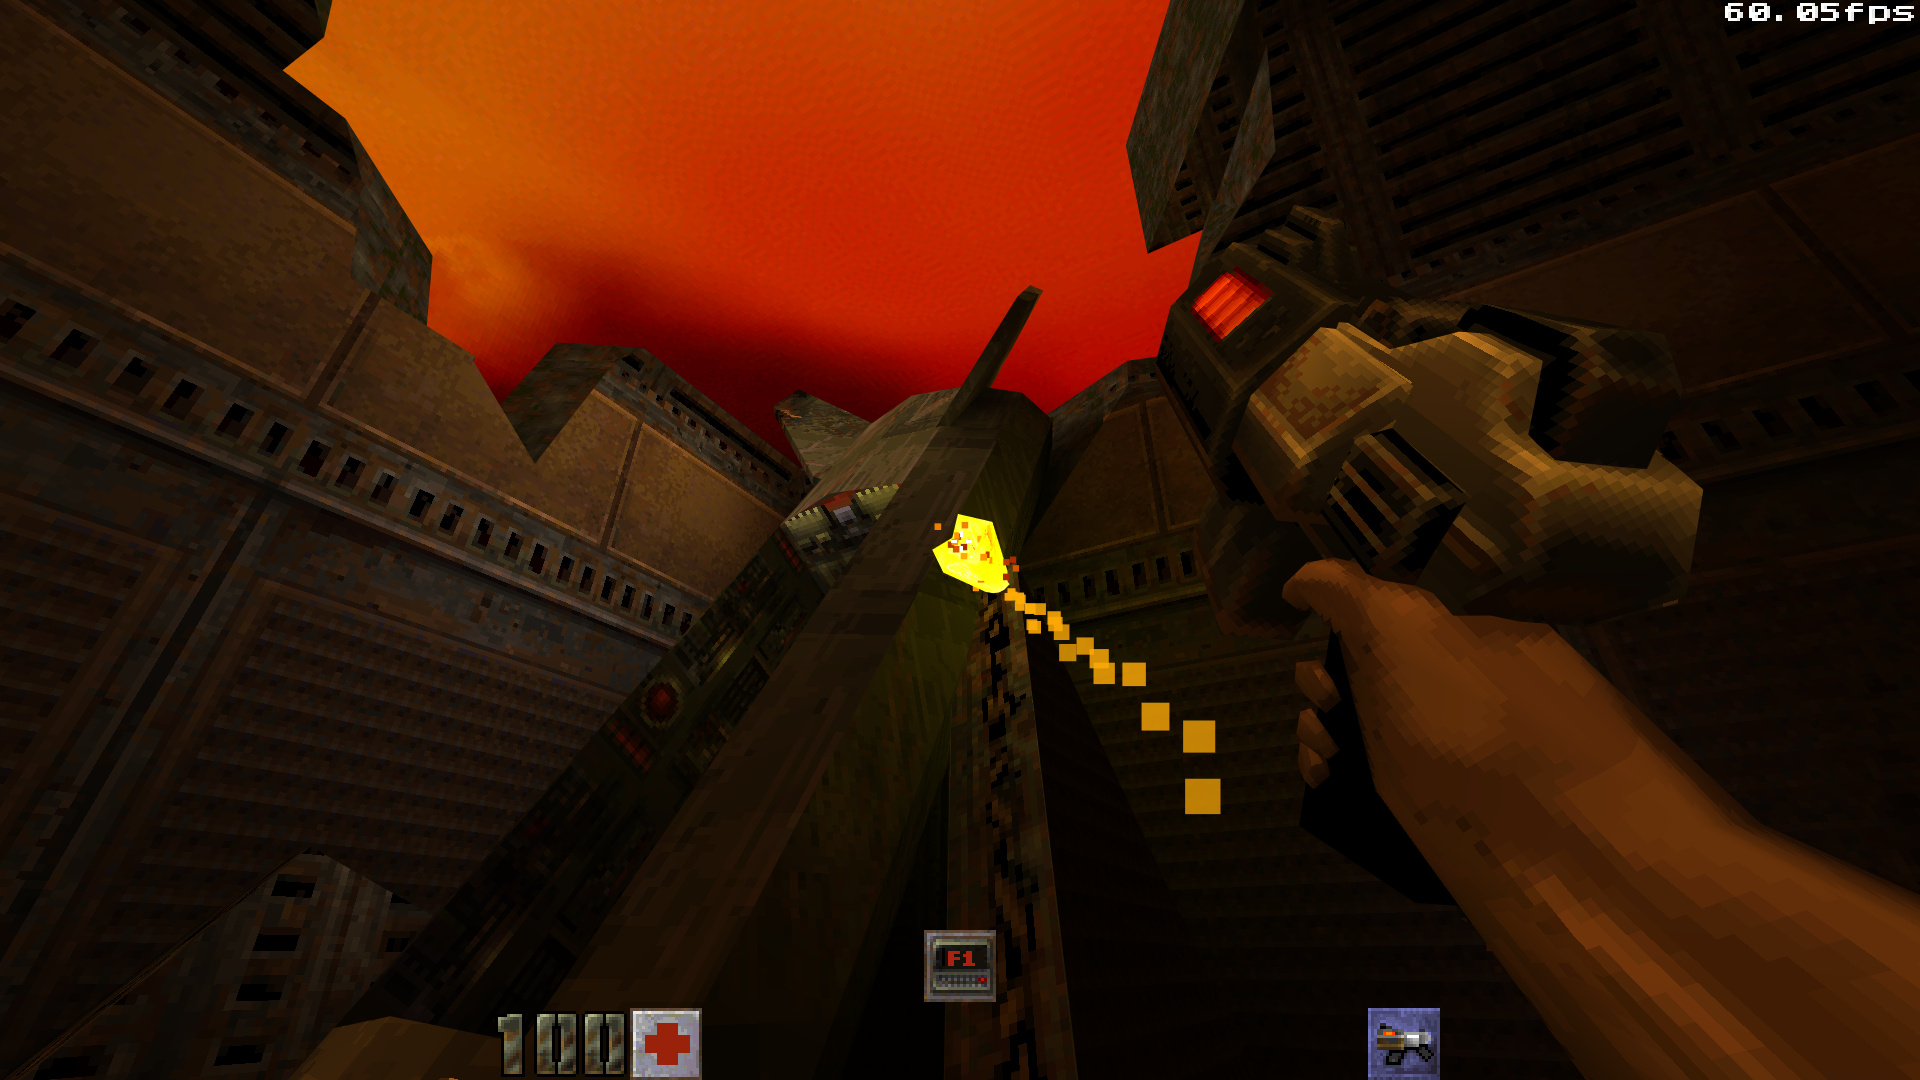
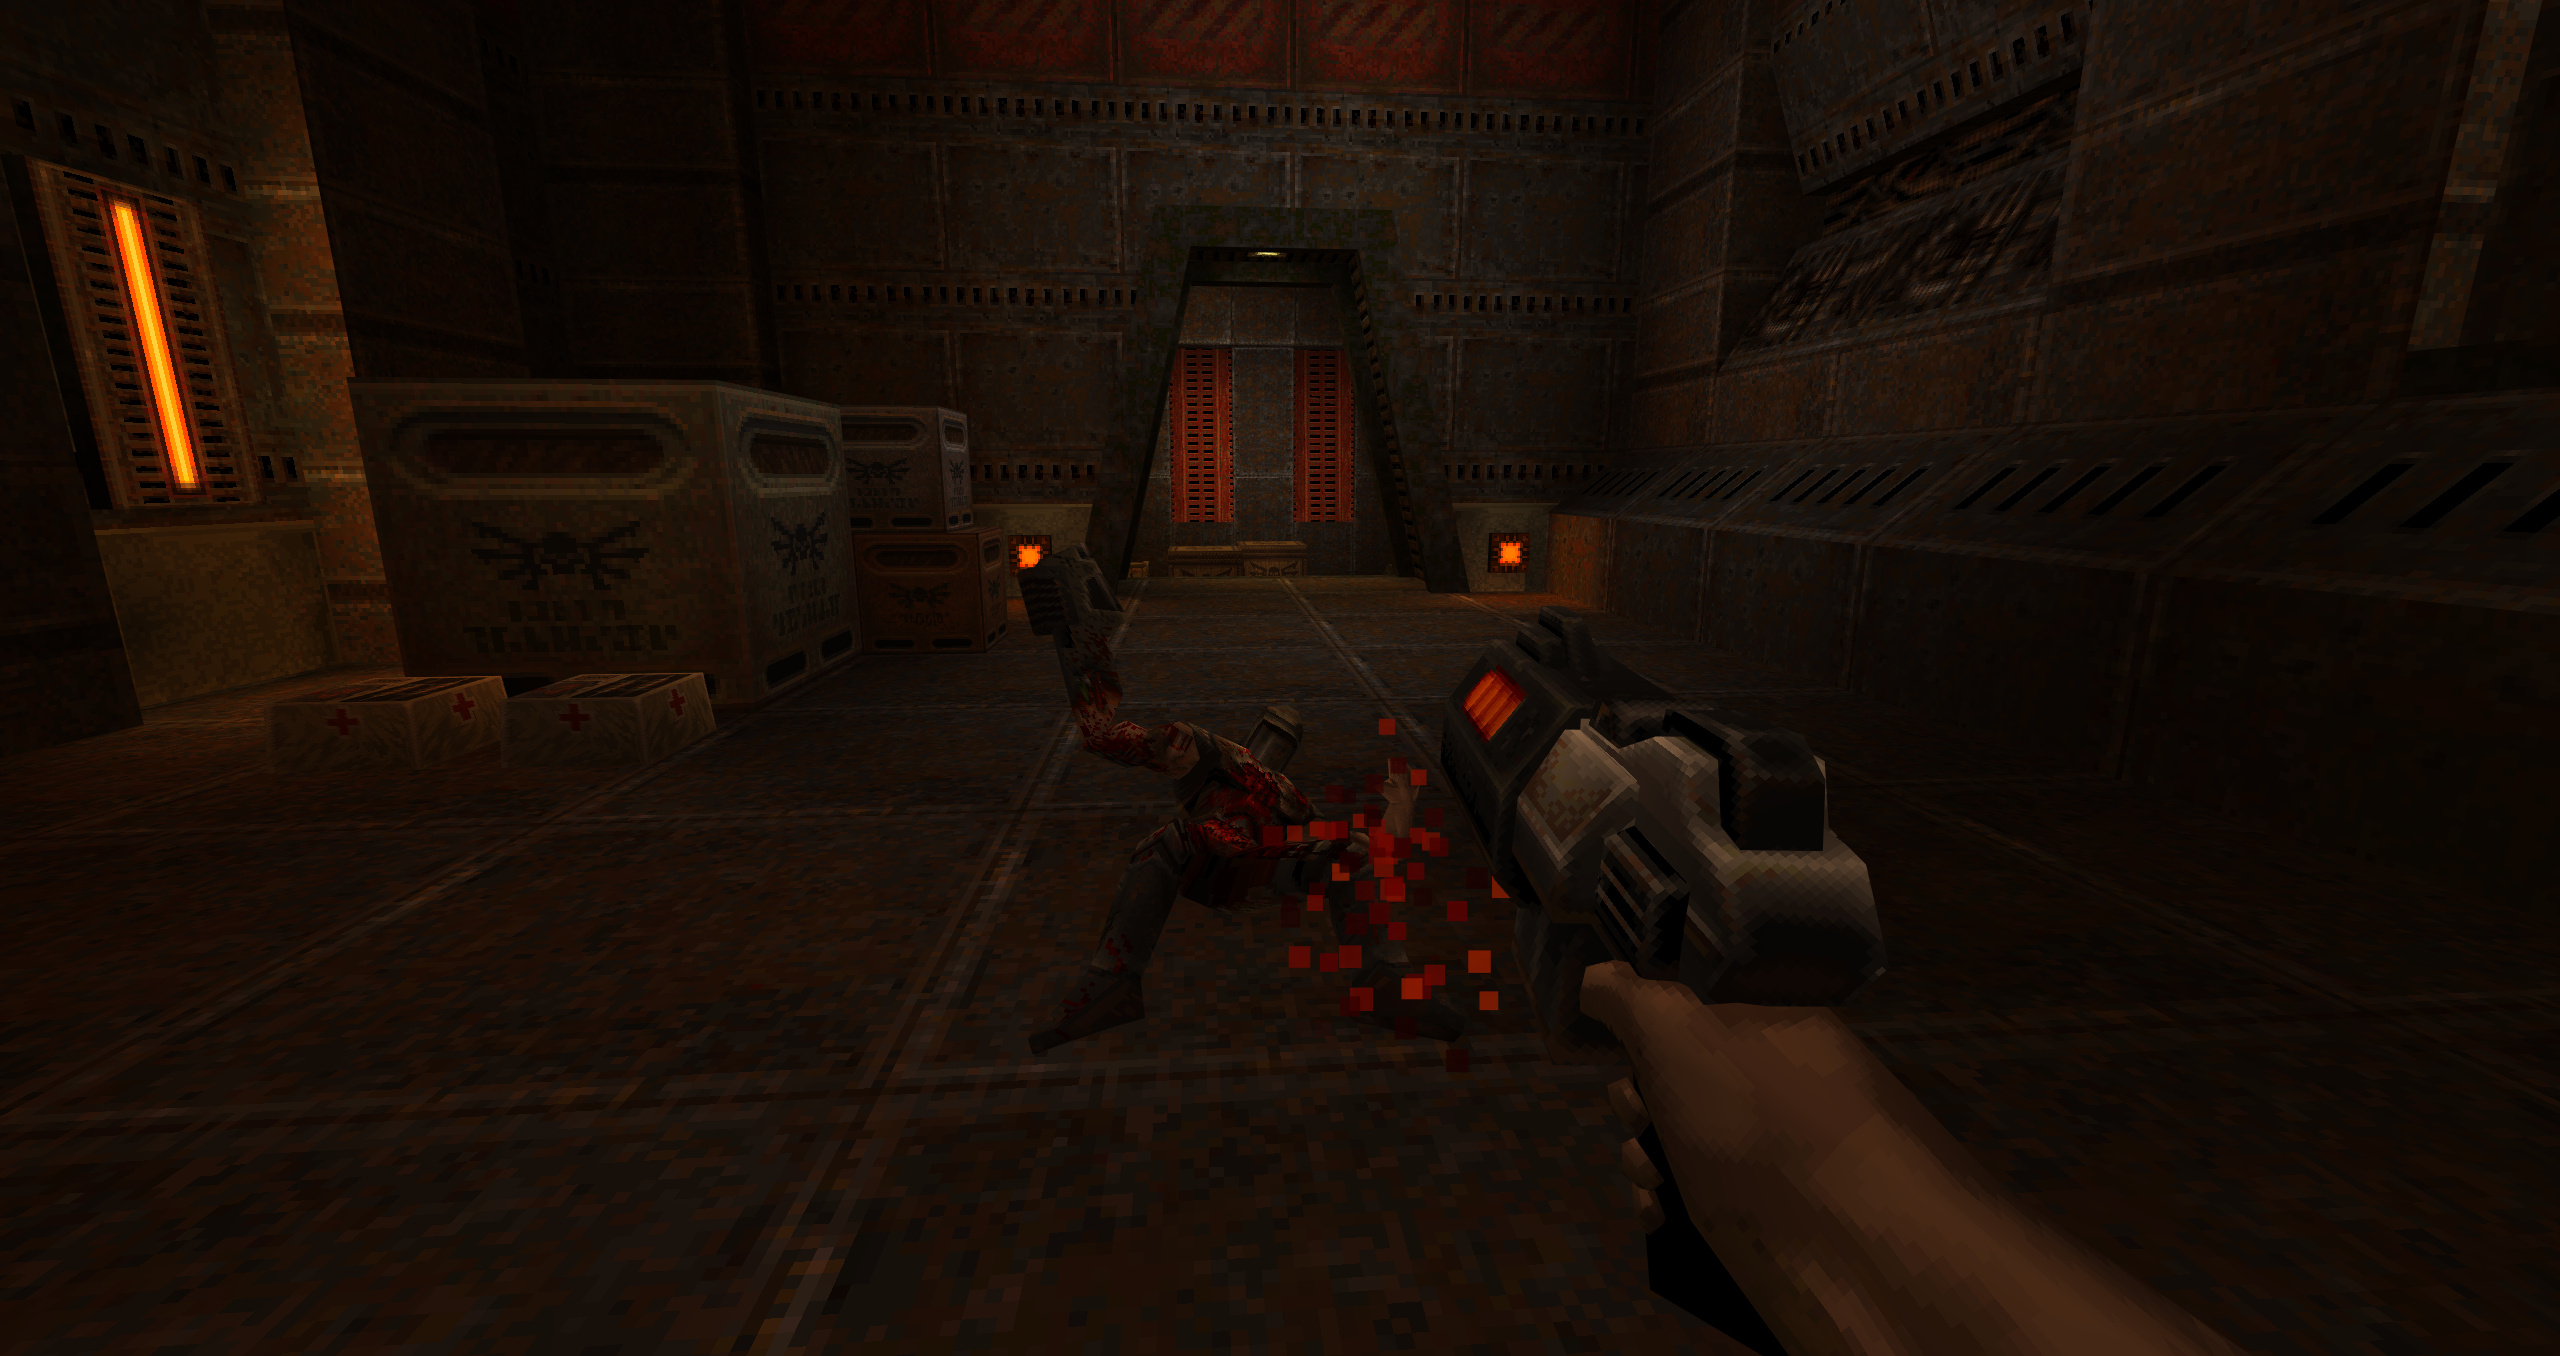
With all that done, you should have a nice classic Quake II gameplay experience with some modern niceties which looks something like the below:
