Setting up TrenchBroom in Windows to create and compile Quake II maps
This guide will show you everything involved with getting TrenchBroom up and running on Windows ready to create and compile Quake II maps.
Table of Contents
Intro
Following on from my previous tutorial, "Setting up TrenchBroom in Ubuntu to create and compile Quake maps", I've decided to delve into Quake II mapping.
While I haven't touched on any of the original Quake sequels in this blog, I think Quake II mapping is so closely related to Quake I mapping that it is worth looking at here.
I created this guide using Windows 10 Pro version 2004.
Downloading everything you need
This guide assumes you have a legit version of Quake II installed on your PC. If you don't have a copy, you can find it on GOG or Steam.
To begin with, let's go and download all the tools and bits and pieces we'll need.
First we'll get TrenchBroom, the editor we'll be using to create Quake II maps (make sure you download and install the Microsoft Visual C++ Redistributable for Visual Studio 2015, 2017 and 2019 or TrenchBroom won't launch):
http://quakespasm.sourceforge.net/download.htm
Next we'll get the compiler utilities used to compile the maps we create in TrenchBroom. There are three separate components, QBsp3, QVis3, and QRad3, all of which we need and can be found here:
http://home.insightbb.com/~gryndehl/q2compile/quake2.html
Another file we'll need to get is "COLORMAP.PCX". I'll explain why this is required later, but for now we can get it from here by downloading colormap.zip:
http://www.quake2.com/qworkshop/features/files.htm
Lastly we need a Quake engine to run the maps we create and compile. I like to think of Yamagi for Quake II as being very similar in nature and purpose as QuakeSpasm for Quake I, i.e. simple and faithful to the original game, however highly configurable and powerful at the same time.
Download Yamagi from here:
https://www.yamagi.org/quake2/
Creating your directories
Let's create a directory on your system where everything Quake II will live.
Note: For demonstration purposes, this guide including screenshots show my Quake II directory on the root of C:, however I would recommend setting everything up on a secondary drive so you don't have to reconfigure everything between system rebuilds. All the tools used in this tutorial are portable, meaning there isn't any registry settings being written or a need to run things from the system drive, so you will be fine creating everything on D: or E: for example.
Let's create the following directory structure:
C:\quake2
└─compiler
└─bsp
└─rad
└─vis
└─trenchbroom
└─yquake2
Extract the contents of your Yamagi download to C:\yquake2.
Extract the contents of gddqbsp3_109.zip to C:\quake2\compiler\bsp.
Extract the contents of gddqrad3_104.zip to C:\quake2\compiler\rad.
Extract the contents of gddqvis3_103.zip to C:\quake2\compiler\vis.
Extract the contents of your TrenchBroom download into C:\trenchbroom.
Note that you'll need 7zip to extract the compressed file TrenchBroom file. Download 7zip here:
https://www.7-zip.org/download.html
Now it's time to copy across the official Quake II game files from your Quake II installation directory. I've installed the GOG version of Quake II on my system, so source directories may be different for you based on which version you have installed.
Copy the pak0.pak file and the video directory from "C:\GOG Games\Quake II\baseq2" to C:\quake2\yquake2\baseq2.
To be complete, we can copy across the Quake II expansions as well. To do that, copy the pak0.pak file and video directory from "C:\GOG Games\Quake II\rogue" to C:\quake2\yquake2\rogue. Copy the pak0.pak file and video directory from "C:\GOG Games\Quake II\xatrix" to C:\quake2\yquake2\xatrix.
Still with me? Good. We need to create the following directory: C:\quake2\yquake2\baseq2\pics. From our downloads at the beginning of this tutorial, extract COLORMAP.PCX from colormap.zip and place it inside this directory.
Lastly, we need to create a location to save our maps to. Create the following directory: C:\quake2\yquake2\baseq2\maps
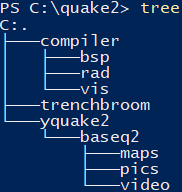
Just to make sure, your directory structure should now resemble the following:
Configuring TrenchBroom
Alright, now that we have all our files and directories in place, we can run TrenchBroom and get things set up there.
Run TrenchBroom.exe from C:\quake2\trenchbroom.
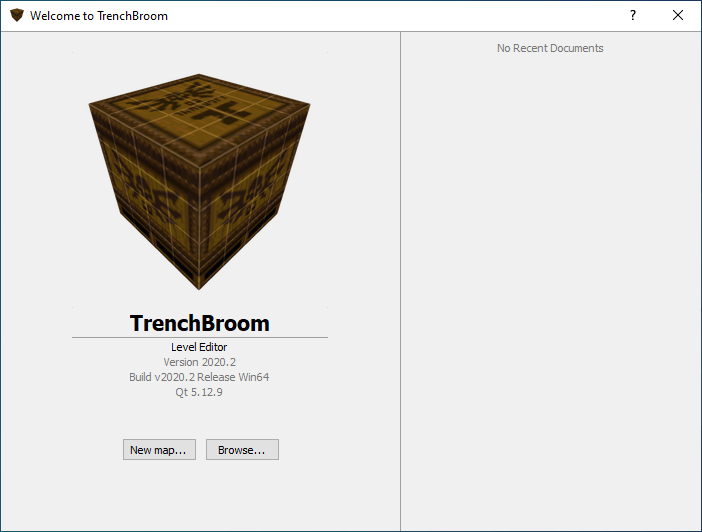
The first screen you will be presented with is the welcome screen. Click on "New map...".
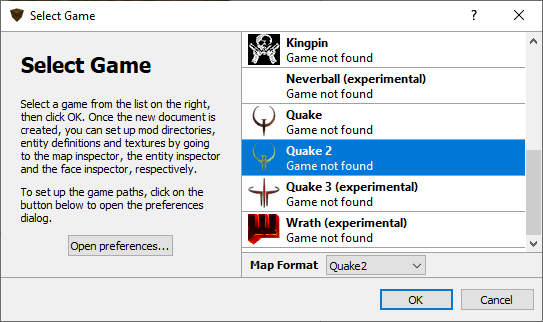
This will open up the "Select Game" window. Select "Quake 2" from the list in the right hand column, and then click "Open preferences...".
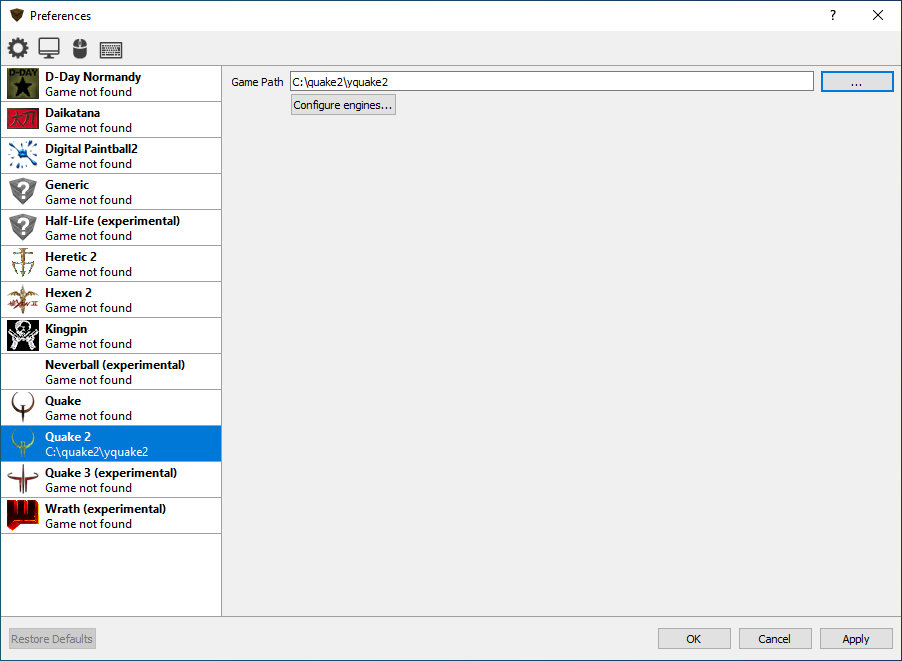
This will open the "Preferences" window. Here, select "Quake 2" on the left hand column. Ensure your Game Path field matches the following screenshot. Now click "Configure engines...".
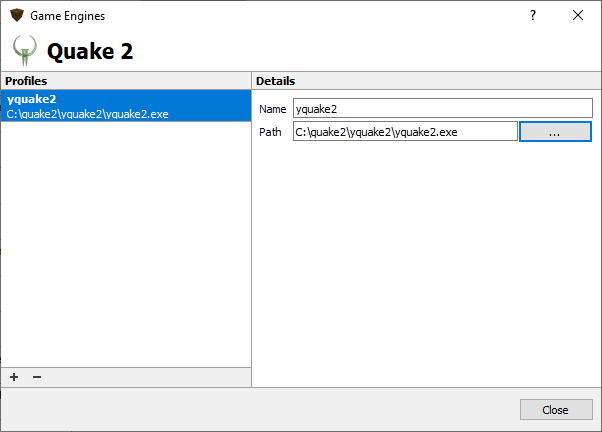
Make sure your fields match the below screenshot. Once done, click "Close".
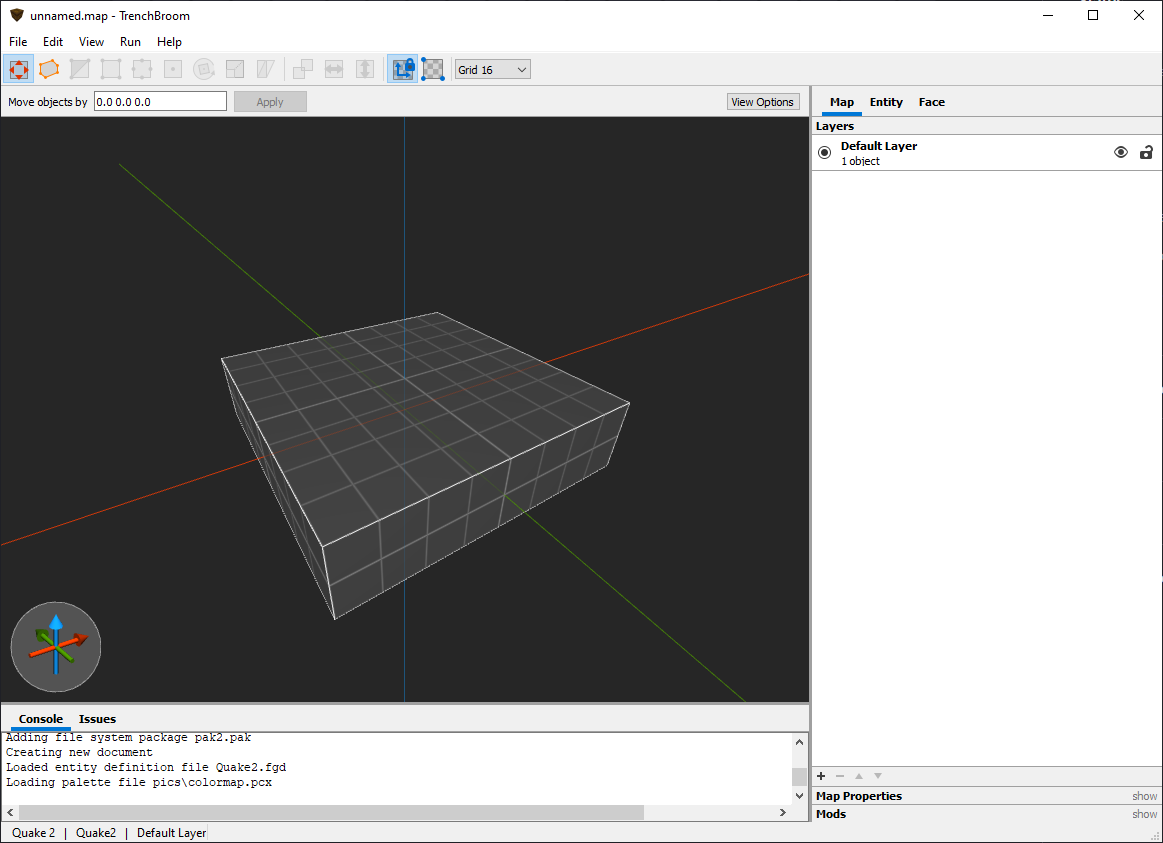
Once you click "Close" -> "OK" -> "OK" you'll be presented with an unnamed, blank map (notice that the console says it found pics\colormap.pcx?)
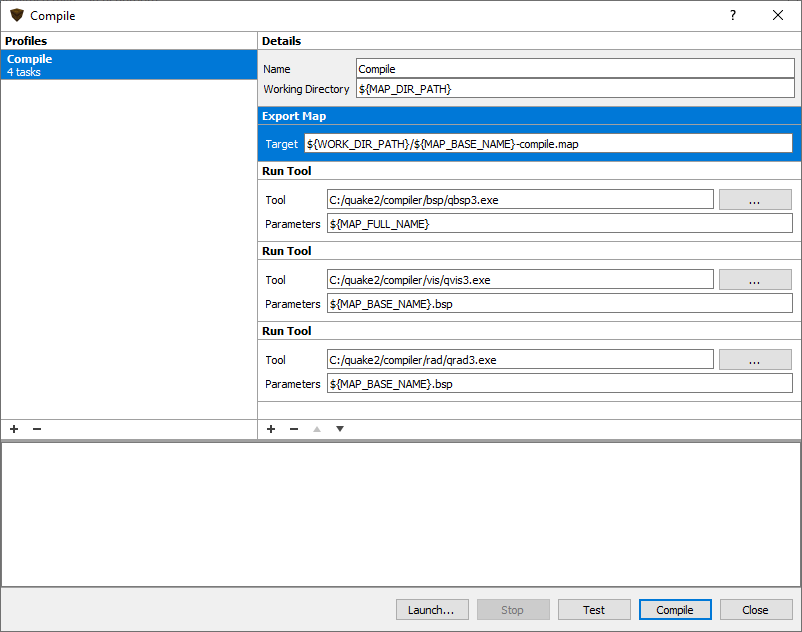
Now, rather than going through the ins and outs of TrenchBroom (the documentation is actually really great), I present you with the Compile configuration screen. Click "Run" and then select "Compile Map". Make sure you fill out everything so it looks like the following screenshot, and then click "Compile" (you'll need to save your map first I saved my map as map_01):
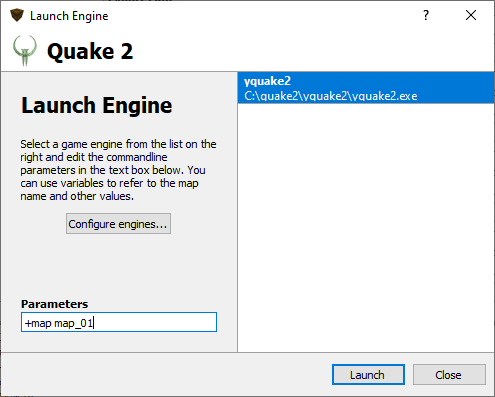
Now to play the map you have created. From the Compile window, click "Launch..." and you will see the below Window. Enter "+map" into the Parameters field followed by your map name. Click "Launch" to run your new map in Yamagi.
