
Configuring QuakeSpasm for a modern retro look
This is a guide to show you how to get Quake running on the modern QuakeSpasm engine but keep the traditional "software-rendered" chunky look.
UPDATE: Since writing this article, I've had excellent feedback at this Reddit thread so I thought it best to pin some of the community recommendation here.
Firstly, it must be noted that some of the physics in Quake break if using QuakeSpasm at a higher FPS than 72. Therefore, where I list host_maxfps "144" please be mindful of this. For engines that support higher refresh rates without breaking physics, check out QuakeSpasm Spiked or vkQuake. I may do a write-up of one of these in the future.
Secondly, rather than overriding the settings listed in the config.cfg file, a more elegant solution is to create a new text file, call it autoexec.cfg and place this in your id1 directory. This way you can see all your overrides in one file and it is portable between separate installations. The only thing I had to set manually after putting my settings in autoexec.cfg was my screen resolution which can be set through the in-game Quake settings menu.
With all that in mind, continue reading...
Today I want to show you how to get everything set up in QuakeSpasm to run the original Quake on PC with a modern retro look. By that I mean having everything run smoothly at maximum resolution, high refresh, anti-aliased, and anisotropic filtered, but also have that old school chunky unfiltered textured look.
One thing to mention is that over the years there have been many different engines written for Quake to get things running better on modern systems, be it for Windows, MacOS or GNU/Linux. This is thanks to id-Software open sourcing the original Quake source code which you can check out here if interested:
https://github.com/id-Software/Quake
I've settled on QuakeSpasm, which itself is a continuation of FitzQuake. It's elegant, quick, stays true to the original Quake, and will play just about all modern maps from the community.
With that in mind, let’s begin with the basics of setting up QuakeSpasm by getting everything we need downloaded and put in the right place on your computer.
http://quakespasm.sourceforge.net/download.htm
I’m using Windows 10 64-bit, so I grabbed the “Win64 (x64)” download from that page.
Once downloaded, extract contents to a quake directory. In our case, let’s create a directory on C: called quake and extract everything into there.
After that, create a sub-directory in your quake directory called id1.
For QuakeSpasm to run with any content, we’ll need to get the original data files from a legitimate Quake installation either from your original disk, Steam, or GOG. Once you have Quake installed from any of those sources, navigate to the installation directory and copy the “.PAK” files from the “Id1” directory into the id1 directory you created at C:\quake\id1.
You should now have a directory and file structure which looks like the following:

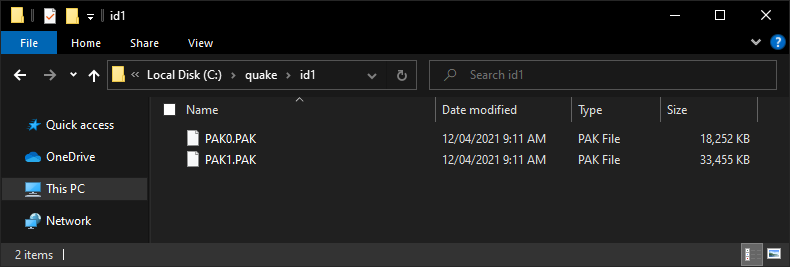
The next thing to do is run quakespasm.exe. Double click to run it. If everything has been put in the right place, you should be presented with the default Quake menu screen:

Now close this Window.
Two files should have been created in your quake directory: history.txt, and id1\config.cfg.
We’re interested in id1\config.cfg as this is where all the settings are for configuring the look and feel of QuakeSpasm.
Open id1\config.cfg in the text editor of your choice. I tend to use Notepad++, but plain old Notepad will suffice.
Here’s the settings I change to get everything set up nicely the way I like:
This gives you a nice little crosshair:crosshair "1"
Enables anisotropic filtering so distant floor and wall textures blend nicely:gl_texture_anisotropy "8"
Makes textures nice and square – removes the blurred look: (see explanation here).gl_texturemode "GL_NEAREST_MIPMAP_LINEAR"
This will depend on the maximum refresh rate of your monitor!:host_maxfps "144"
Makes particles nice, square and chunky rather than rounded and smooth:r_particles "2"
Enabled anti-aliasing to get rid of the jagged edges:vid_fsaa "8"
This will depend on the maximum resolution of your monitor!:vid_height "1080"
vid_width "1920"
Embiggens the console, the menu text, and the HUD:scr_conscale "3"
scr_menuscale "3"
scr_sbarscale "3"
This makes the gun models larger, akin to their original look:r_viewmodel_quake "1"
FPS counter:scr_showfps "1"
Displays shadows under enemies and objects:r_shadows "1"
Water transparency effects:r_novis "1"
r_wateralpha "0.6"
r_waterwarp "2"
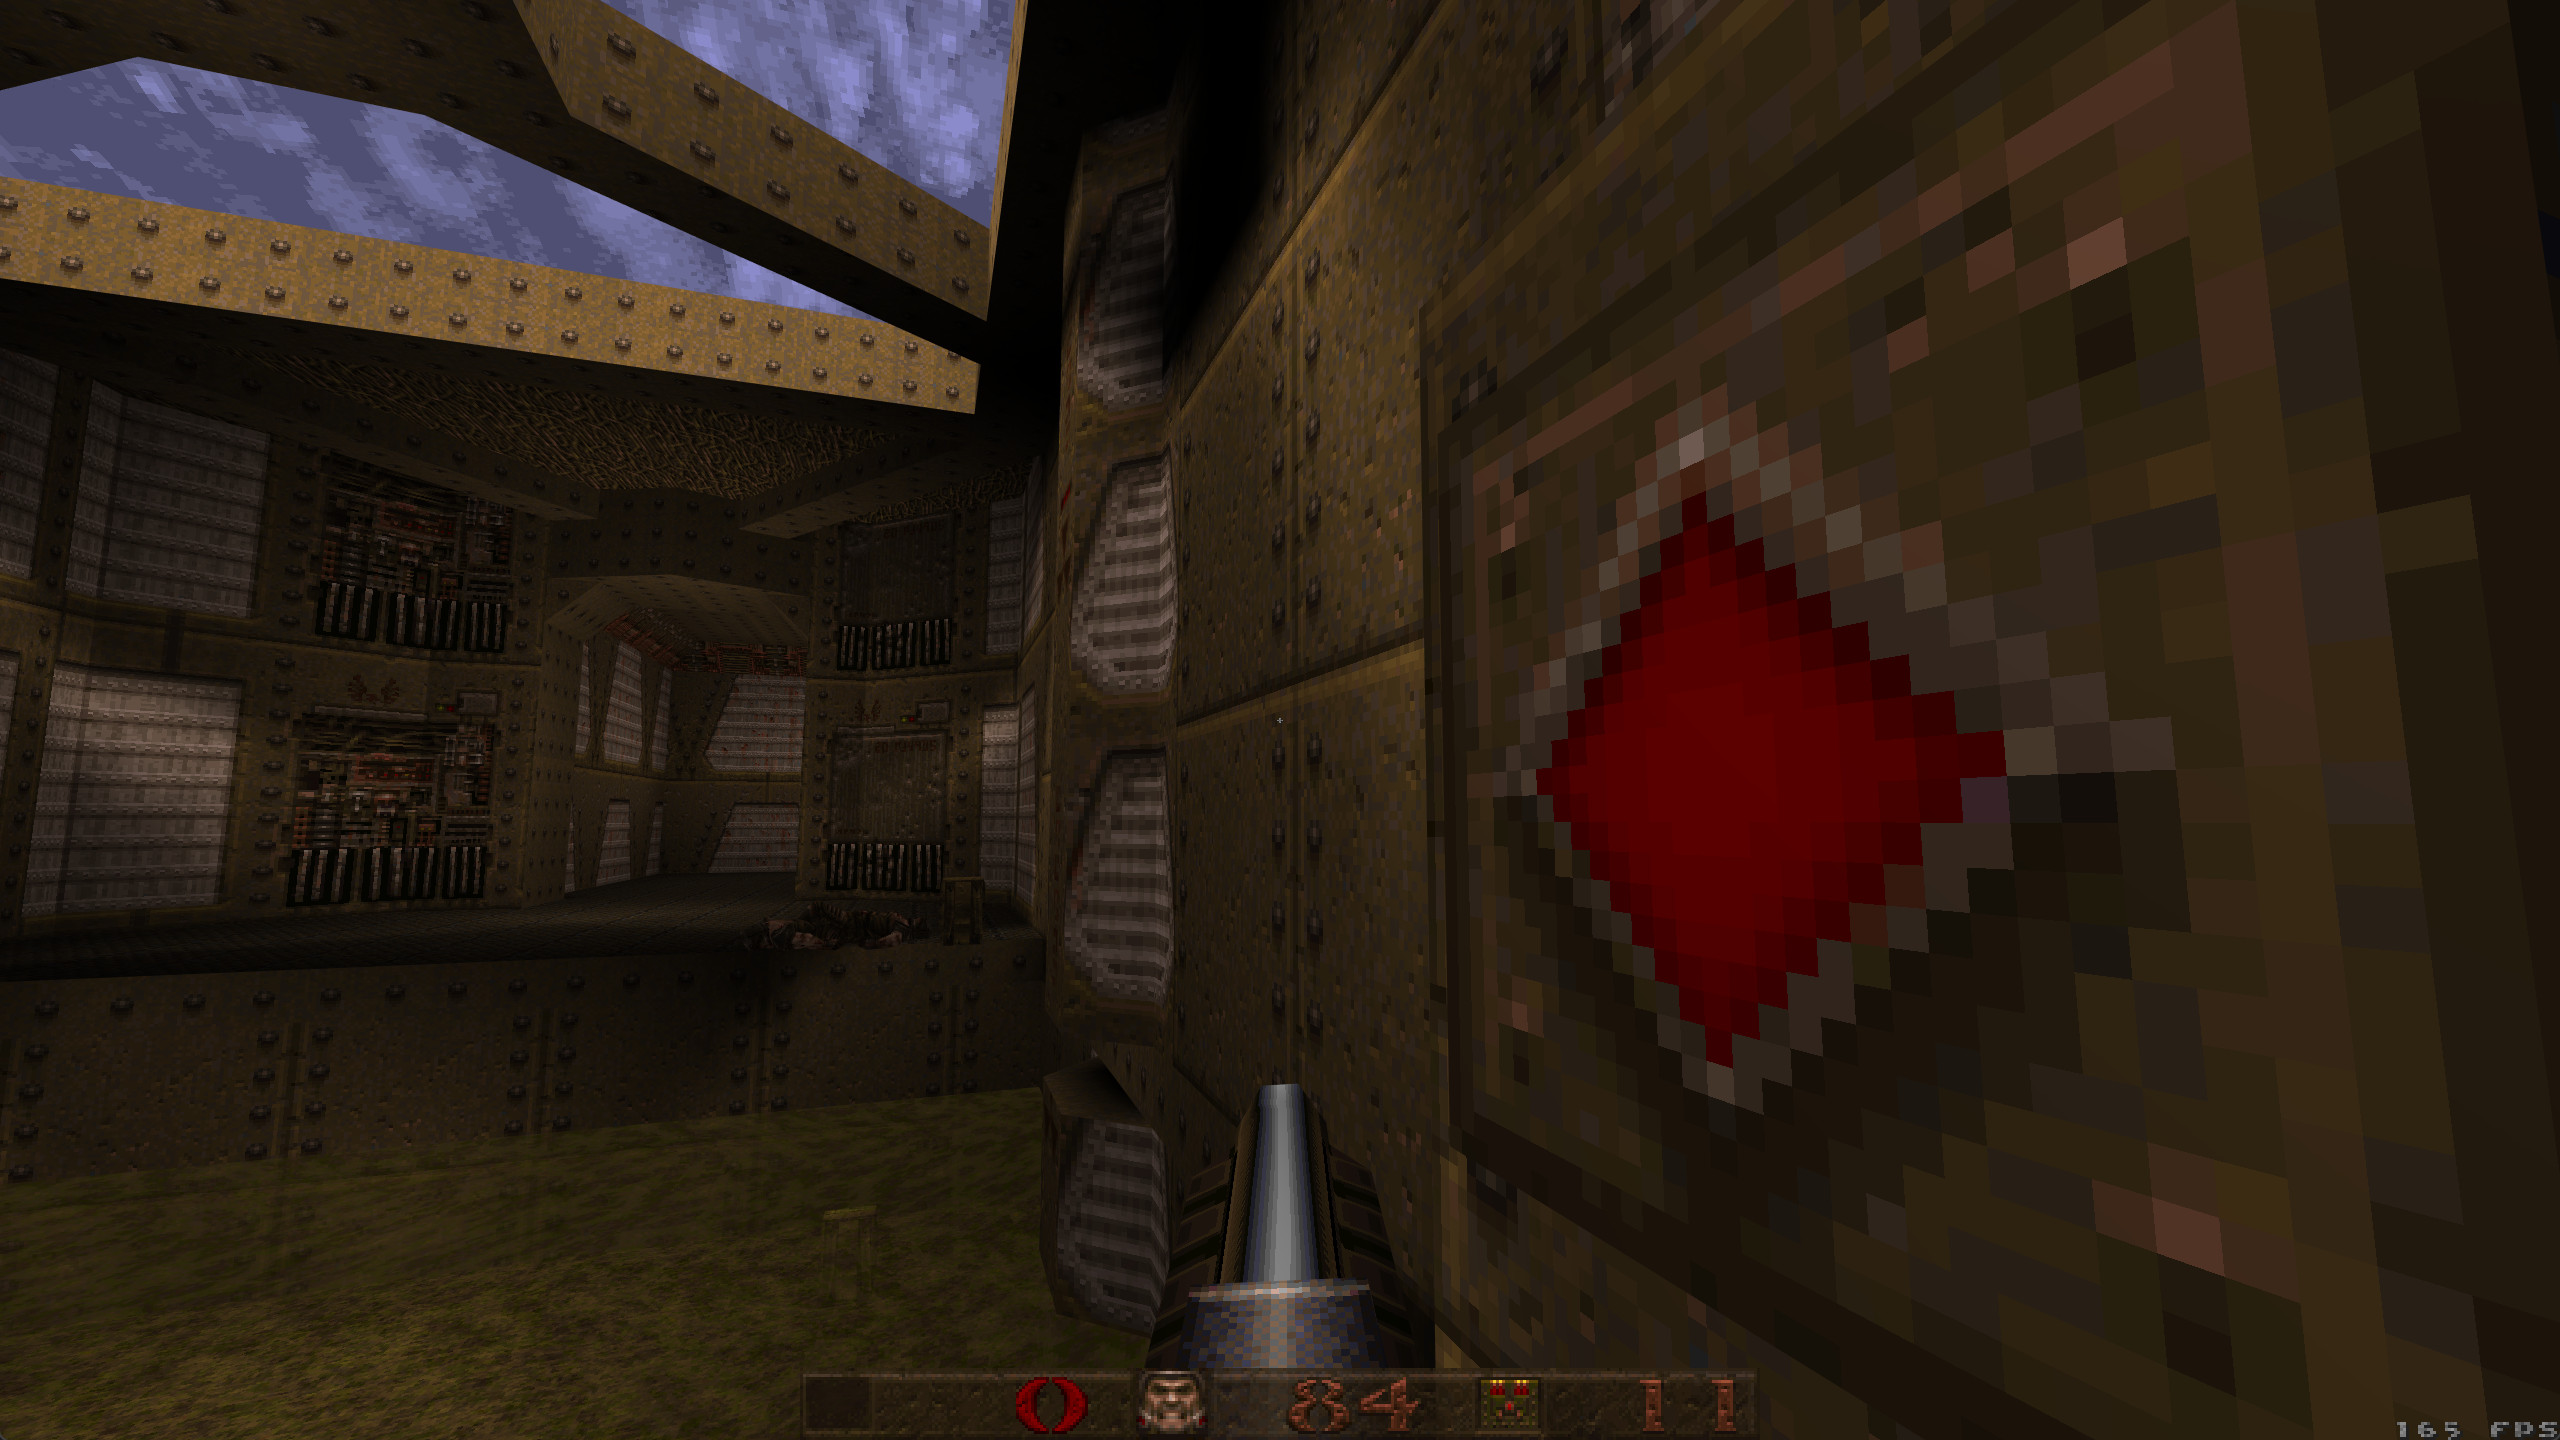
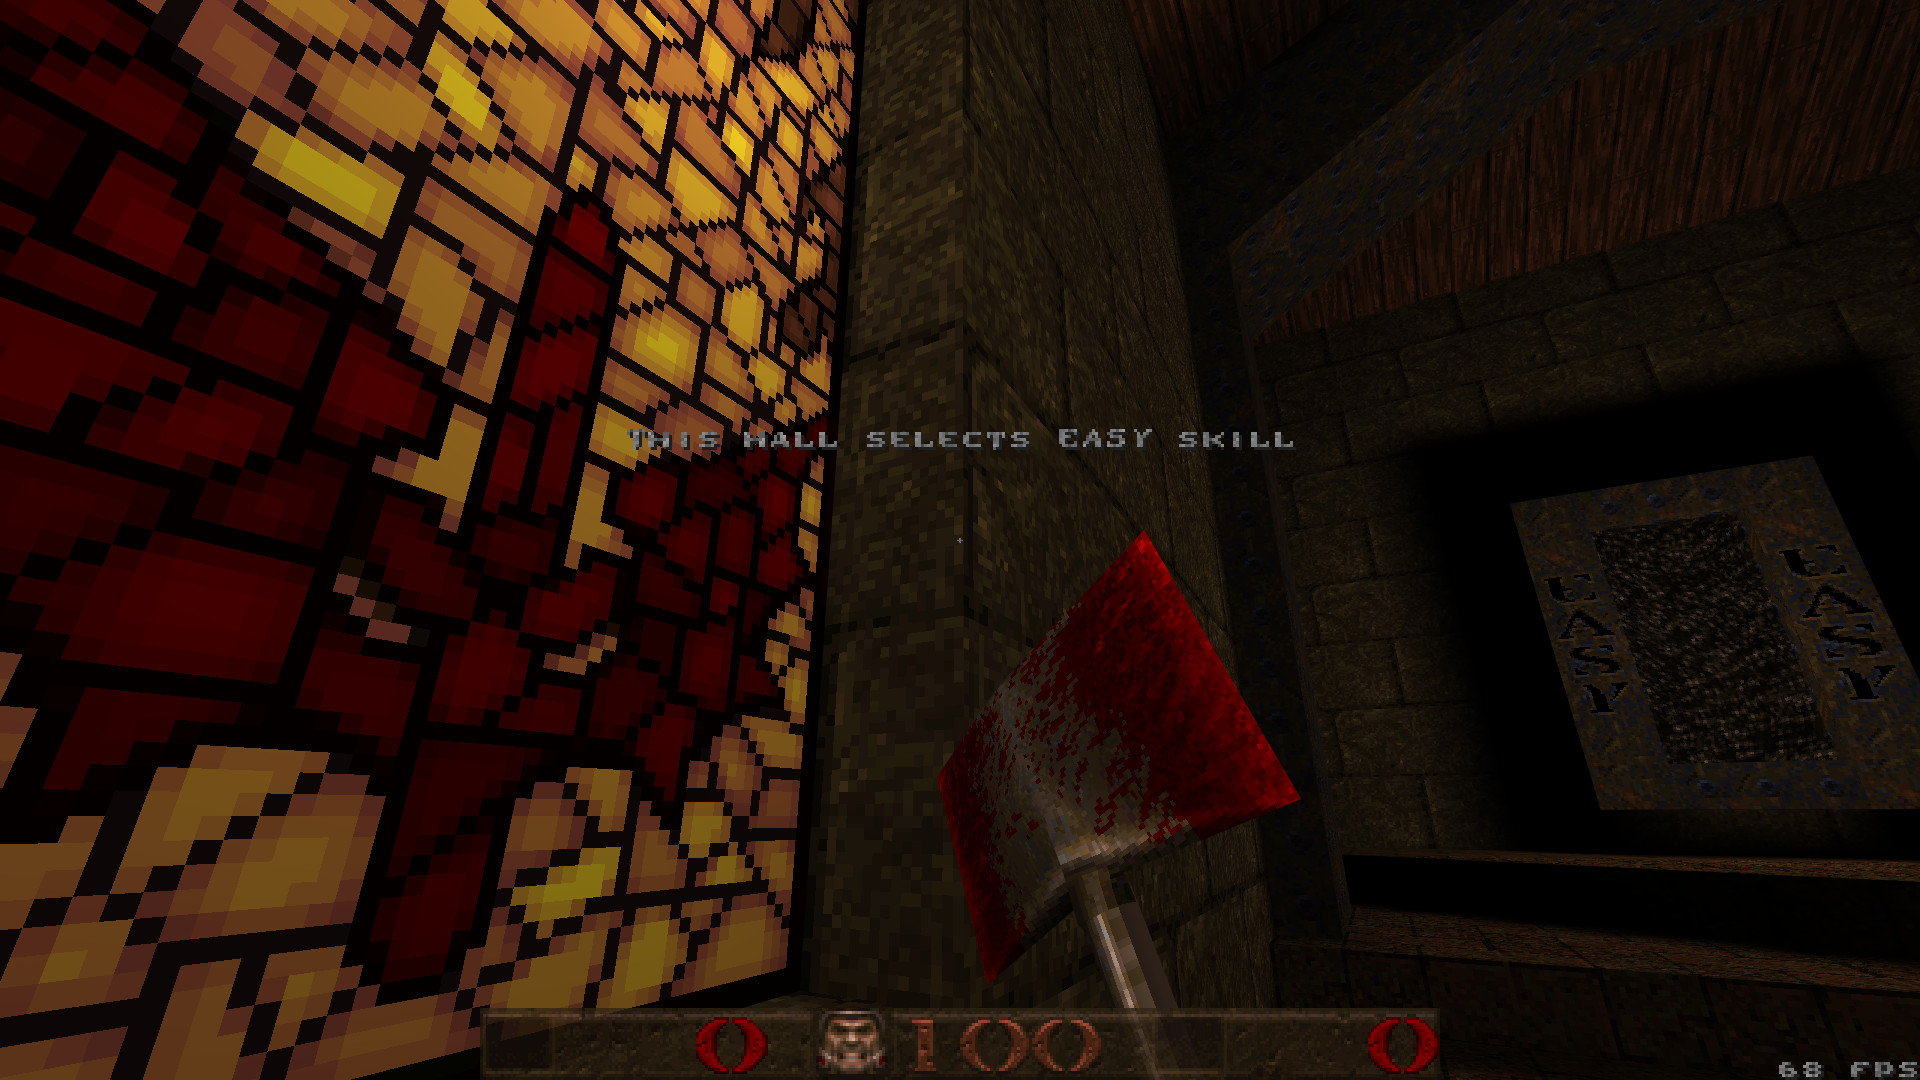
Now when you launch QuakeSpasm, you should now end up with a game the looks something like the following:
As a final touch, to experience the original Nine Inch Nails music tracks in game, download this zip:
https://www.quaddicted.com/files/music/quake_campaign_soundtrack.zip
Extract all the .ogg files in this archive to a new directory at C:\quake\id1\music.
QuakeSpasm will automatically look for and play the correct files in this location when you launch it.
Now enjoy the original single-player Quake with all the niceties of the modern QuakeSpasm engine with an authentic, original presentation.
For more settings, see the QuakeSpasm readme here or the FitzQuake readme here.